Guide
Your first flight with WindXplorer.
Three stages, like a flight: plan, fly, share.
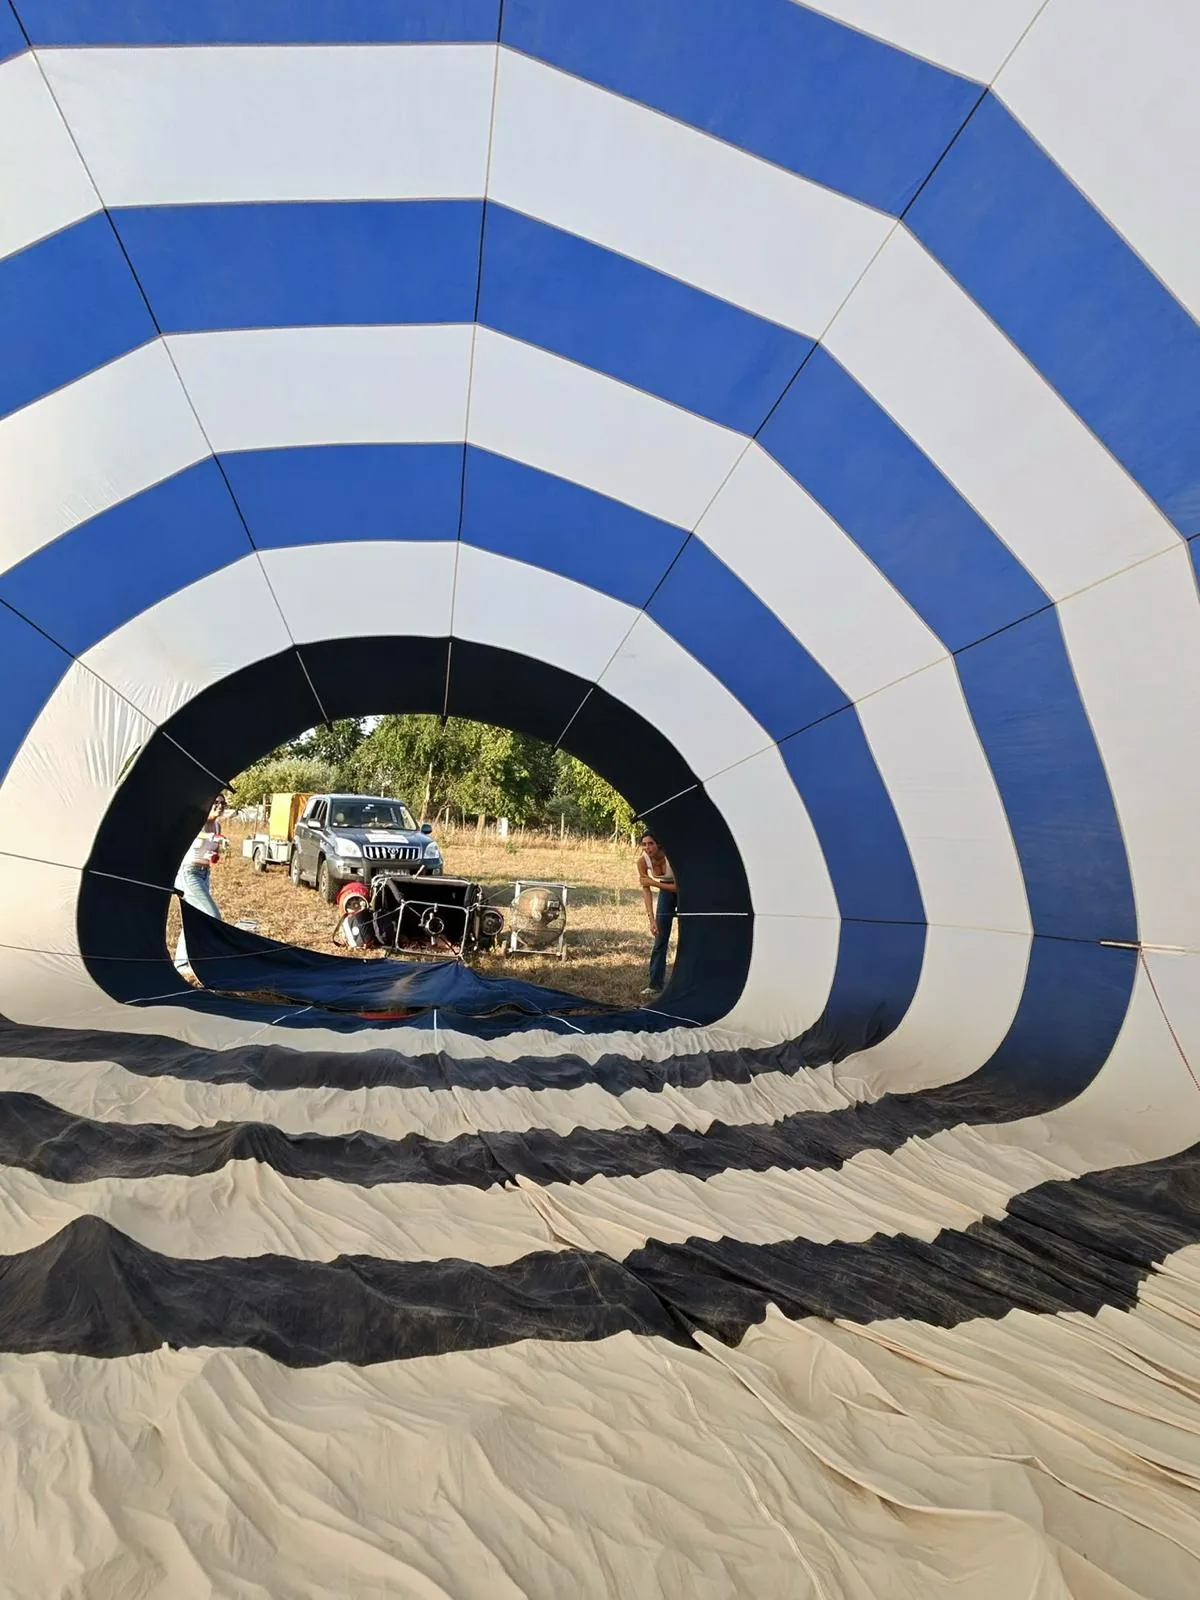
1 / 3
Plan
- Add your launch fieldSearch for a city, use GPS or point at the map. The place joins your dashboard.
- Read the FlyScoreThe slot holds from 70 up. Check morning and evening over 14 days to spot the window.
- Open the windgramCheck the surface wind, the gusts and the layers up to your flight altitude.
- Simulate the trajectorySet the time, duration and altitude. Three trajectories give the likely landing area.
- On the field, bring out the compassIt shows the heading to the target and the surface wind before you inflate.
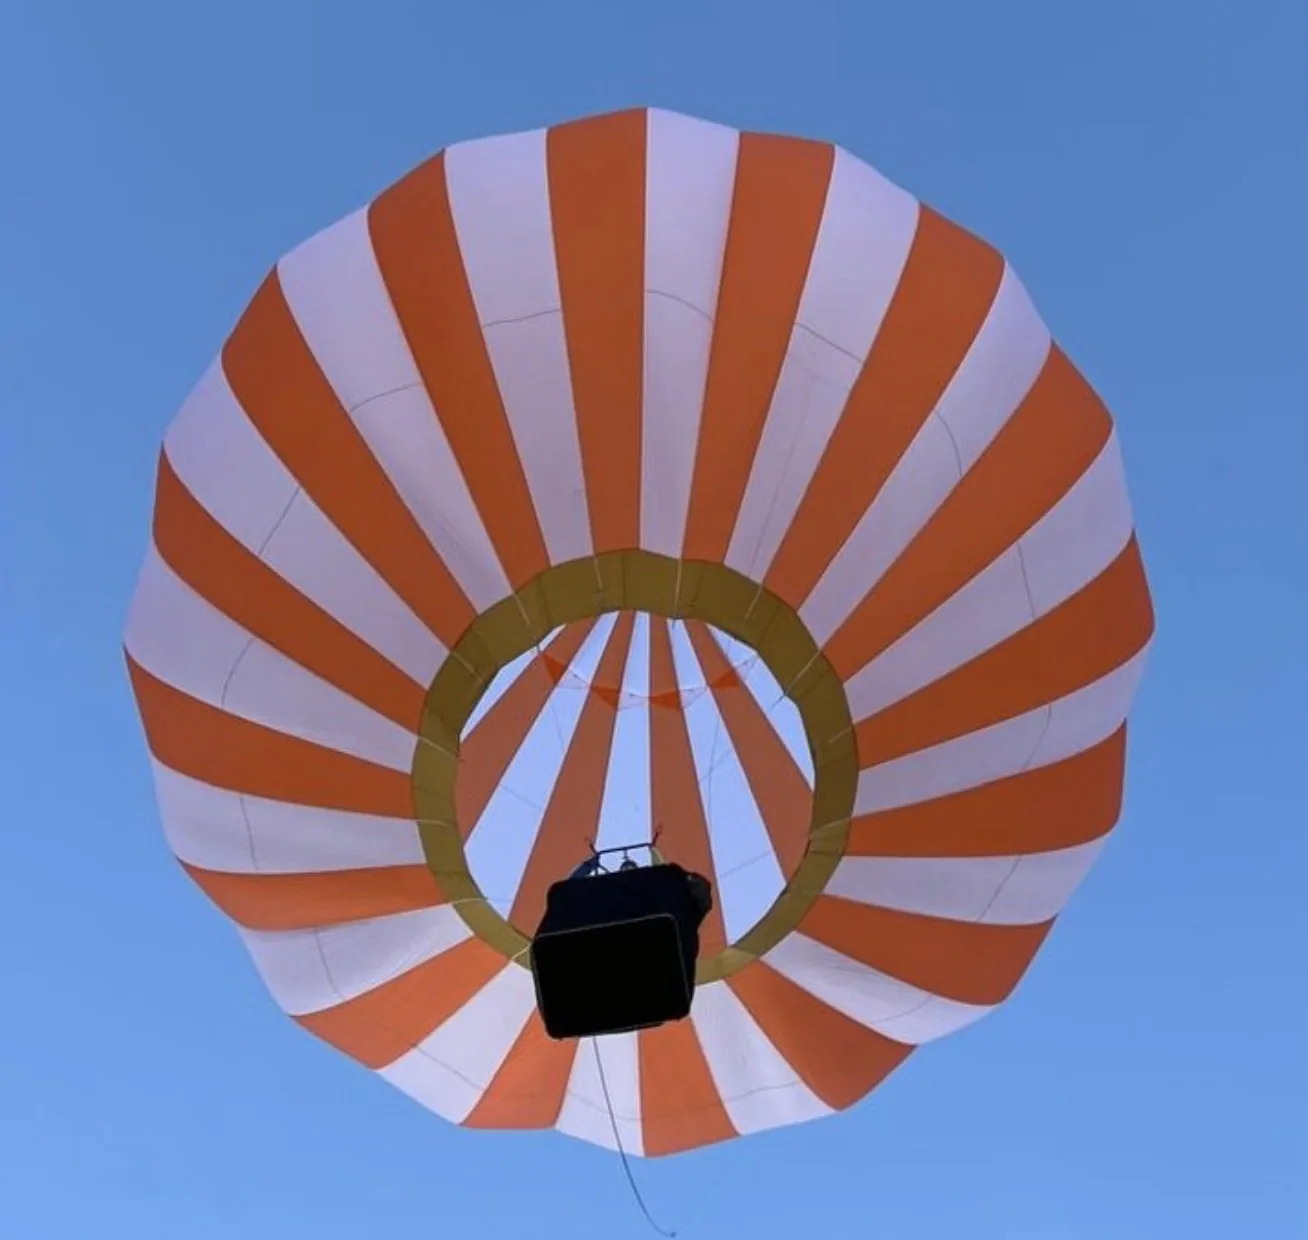
2 / 3
Fly
- Start Track at take-offThe instruments appear and the track is recorded.
- Choose a targetGOTO shows the heading, the distance and the arrival time.
- Keep an eye on airspaceThe current airspace is shown with its floor and ceiling.
- Stay in touch with your crewCrew shows them the balloon, AirVoice lets you talk.
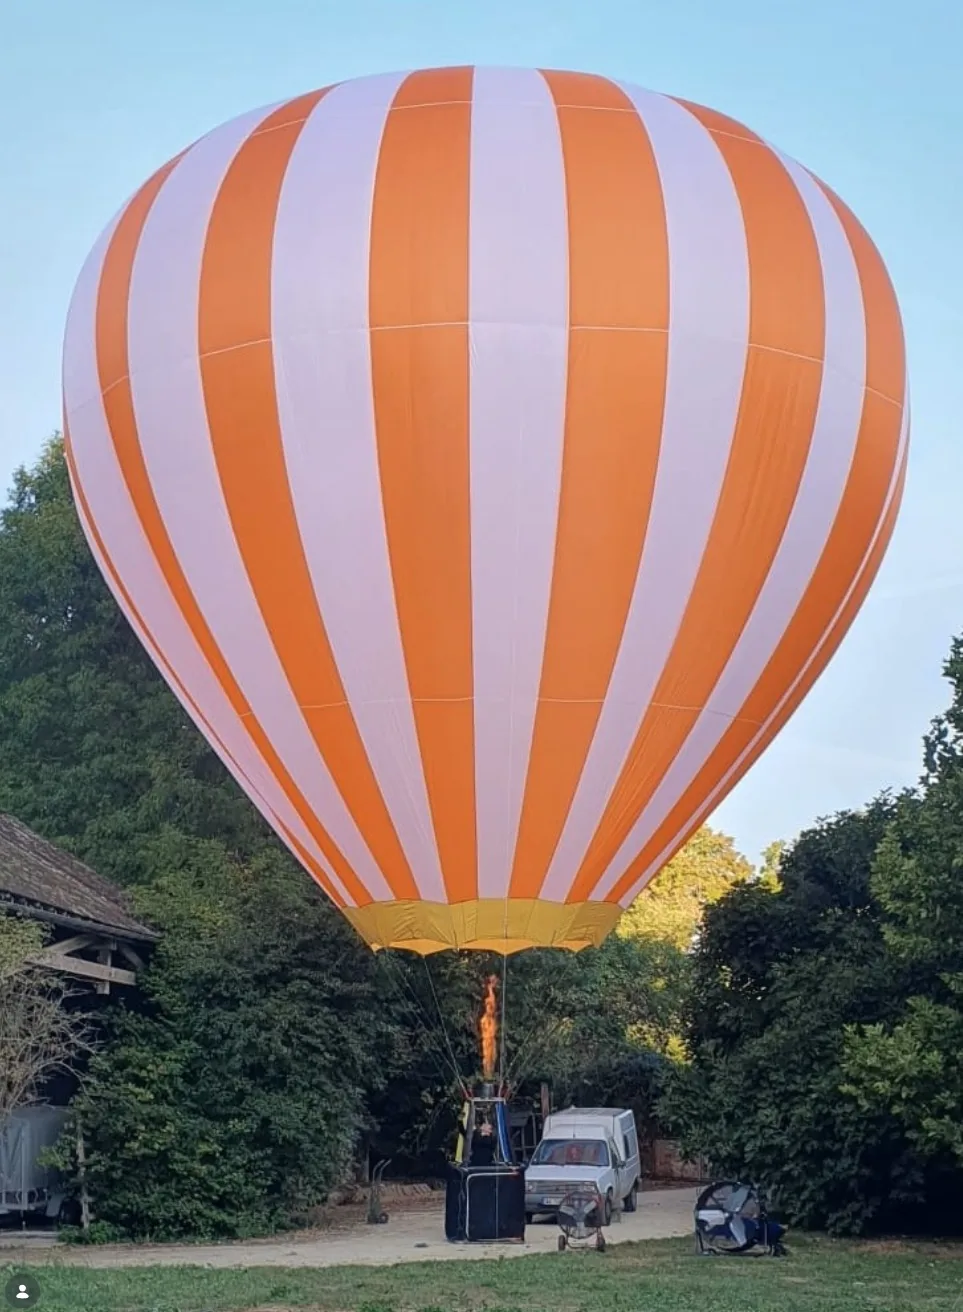
3 / 3
Share
- Stop recording at landingThe flight joins the Logbook with its track and statistics.
- Complete the flight sheetAdd your photos, crew members and notes.
- Relive it in 3DThe replay plays the flight back in relief, with the altitude profile.
- SharePost to the feed, to your club, or send a link.
Need help? hello@windxplorer.com
Free during the beta, no credit card
Ready for take-off?
Join the pilots who made WindXplorer their copilot.